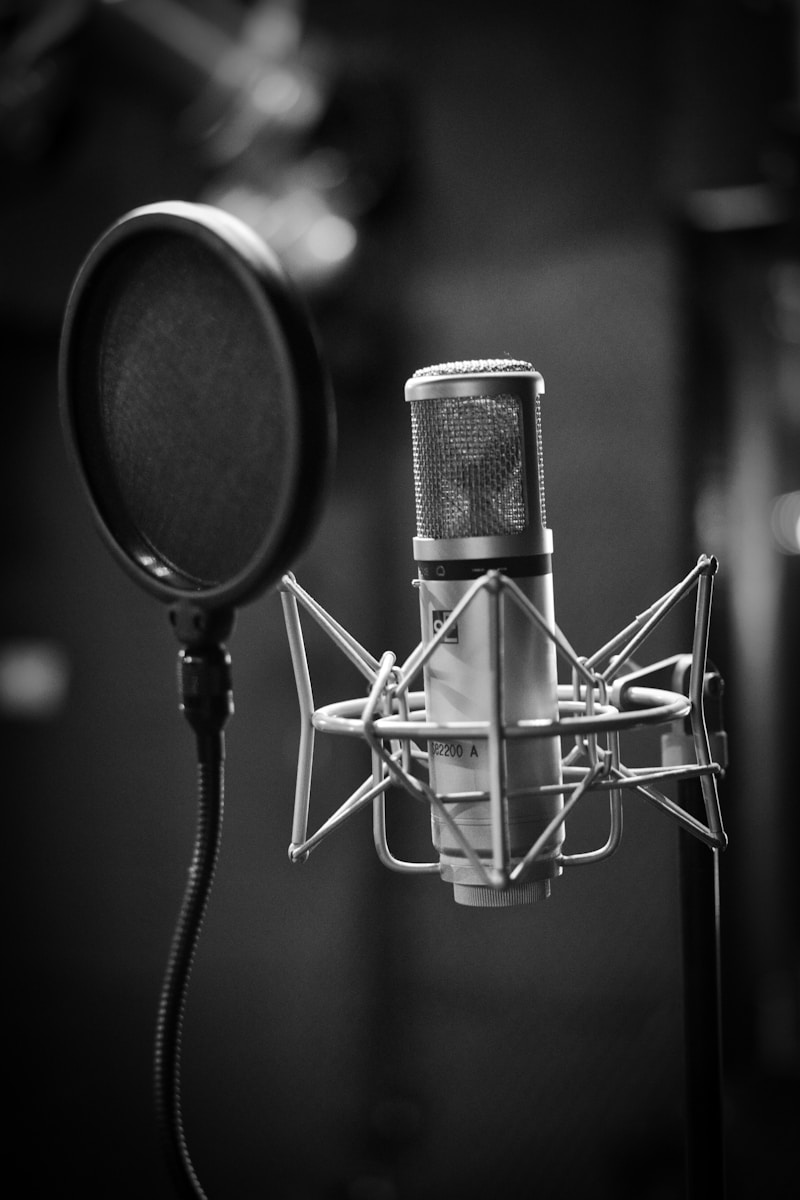
- Walk over to the Podcasting Studio PREPARED! This includes questions for the interviewee, an interviewer, etc.
- Open the central part of the booth. It swings out and upward.
- Turn on both power strips in the back using the red switches. The switches are toward the right side.
- Turn on the overhead light (inside the booth). On the light’s underside is a button on the left side.
- Turn on the soundboard. The soundboard is the board on the right with the sliders. The power button faces the booth’s back wall on the right side of the board. It is a round button. If you need to, look at the back of the board.
- Please turn on the laptop using its power button. Remember that the power button is located in the same spot as a registered FCPS laptop.
- Log into the laptop using your FCPS username (student I.D.) and password.
- Wait for the laptop to reach the “Luther Jackson” homepage (screensaver showing the apps). BE PATIENT, as this process could take a little over one minute.
- Locate “OBS STUDIO” at the bottom-left of the screen. Double-click on the app and wait for it to open fully.
- Click “Skip” on any update message, as updating the software could result in lost data.
- Click cancel on the popup showing the recording options.
- Find the box labeled “Sources.” In the bottom-left corner of this box, click on the “+” icon to reveal a dropdown menu.
- In the dropdown menu, click on “Video Capture Device.”
- Then select “Create New” and name the new source “Video Board.”
- Click “OK.”
- After clicking “OK,” there should be a dropdown menu labeled “Device.” Select the dropdown menu and click “Blackmagic Design.”
- Click “OK” on the popup.
- In the bottom-right corner, there is a box labeled “Settings.” Click this box, and a popup will appear. On the left side, there is a menu. Click the option labeled “Video” in this menu.
- Click on the “Base (Canvas) Resolution” box.
- Select the text in the box and replace it with “1600×900.”
- Next, click on the “Output (Scaled) Resolution” box.
- Select the text in the box and replace it with “1600×900.”
- Next, click on the box labeled “Common FPS Values.”
- Change it to “Integer FPS Value.”
- Directly to this box’s right is another box containing a number. If this number is 60, skip steps 26 and 27
- Click on the box containing the number.
- Click backspace twice to delete the number and replace it with “60.”
- Then click enter. The popup should disappear.
- Next, click on “video board” in the sources box.
- Then, there is a box labeled “Properties.”
- Click that
- Scroll all the way down in the popup that appears.
- Check the box labeled “use custom audio device.”
- Scroll down again
- A box should be labeled “audio device” at the very bottom.
- If the box’s contents say “Jack Mic (Realtek Audio),” click the OK button on the popup.
- Next to the “sources” box, there is an “audio mixer” box.
- Drag the slider under “Desktop audio” as far left as possible.
- Do the same for “Mic/Aux.”
- Next, click the three dots next to the slider on “Desktop Audio.”
- Click “Lock Volume”
- Click the dots again.
- Click “Hide.”
- Repeat steps 40-43 for “Mic/Aux”
- Go to the search bar on your taskbar.
- Type “Google Drive”
- Sign in using your FCPS Username and Password.
- Go back to OBS settings.
- Click output
- Click browse
- Look for Google Drive
- Then click shared drives.
- Then click the media comms shared drive.
- Then click Raw Studio video
- Click “Select folder.”
- Then, in OBS settings, click OK.
- When you are ready to start recording, click “Start recording” on the right-hand side.
- You also have to resize the picture.
- Make sure to pay attention during the interview!
Categories:
Podcasting Studio Technology Checklist
Directions on how to set up the podcasting studio technology
March 14, 2024
Tags:


